
Japanese handwriting practice can fill a notebook without answering the question that matters: can somebody read what you wrote? You may recognise a character immediately on a screen and still struggle to place its parts on paper. You may also copy a printed font faithfully while missing the shape expected in an ordinary handwriting model. These are practical problems to inspect, rather than evidence that you need artistic talent. The first target is a small piece of writing whose characters, marks and intended message can be understood.
This guide starts with kana and an ordinary pencil or pen. You will select a reliable handwritten reference, watch or inspect a checked stroke sequence, use a simple grid to control the shape, and then try a short task on plain paper. A reference and a notebook are enough; the process does not depend on an app or a calligraphy kit. It is deliberately narrower than learning every Japanese character. If your immediate goal is reading or typing, keep handwriting proportional to that goal. If you need to write by hand, practise the kind of small task you actually expect to complete.
Japanese handwriting practice needs a readable outcome
Choose one paper use before deciding how much to practise. A study label, a classroom answer or a short word beneath a drawing can each supply a clear starting task. They do not require the same workload as writing a long letter or learning brush calligraphy. For today, choose a known kana word and decide who should be able to read it. Your success criterion is that the reader identifies the intended characters without needing you to explain each mark. Attractive writing can be a later interest; it should not obscure this first communication goal.
Prepare an ordinary writing tool that produces a clear line and a surface on which the paper stays steady. A pencil is useful when you want to annotate a correction, but you do not need to buy a special notebook. Draw a few light squares on spare paper or use a checked practice sheet. Leave room beside the attempt for a model and a comment. Keep the first attempt visible after correction: it records what changed. Avoid judging a whole page by how impressive it looks from a distance. Inspect the few characters that your task actually needs.
Choose a handwriting reference instead of copying decoration
Use a source that explicitly shows writing by hand. The Japan Foundation’s Irodori kana material places printed Mincho characters beside handwriting models. Inspect the handwriting column, particularly when a printed shape looks joined or decorated in a way you cannot reproduce comfortably. Its き, ki, and さ, sa, models are useful places to observe the separated lower movement in handwriting. The lesson is to notice the model’s structure, not to conclude that every font difference is an error or that your writing must imitate a computer outline exactly.
Keep one chosen model beside your page during the first attempt. Compare the overall arrangement, where strokes approach one another and where a visible space remains. Do not mix three different charts and an ornate social-media sample into the same exercise. If two dependable models differ, ask which differences are ordinary style variations and which would make the character difficult to identify. A teacher can help when that distinction is unclear. Reading practice should still expose you to varied fonts; handwriting practice benefits from a clear reference for the particular movement you are learning.
Inspect the stroke sequence before increasing speed
A final outline does not show the whole writing process. Consult a dependable stroke-order reference and follow the order and direction for the character you selected. The University of Texas JOSHU page provides hiragana tables, stroke-order charts and practice sheets. Use these to check an uncertain movement instead of inventing a sequence from a finished font. You can trace a model once, then make an adjacent copy while looking at the reference. Go slowly enough to notice when the pencil lifts. There is no need to turn one short attempt into a timed speed test.
Watch your own movement as well as the result. If you repeatedly draw across an intended gap or add a connection absent from the model, identify the moment when it happens. Repeating the same unchecked movement across a row will not tell you how to change it. Pause, inspect that part of the reference and write a fresh attempt with the correction in mind. For a character that remains confusing, ask a teacher to demonstrate it. General slogans such as “always go left to right” cannot replace the checked sequence of a specific character. Learn the movement you need before trying to make it faster.

Use a light grid to inspect balance and visible spaces
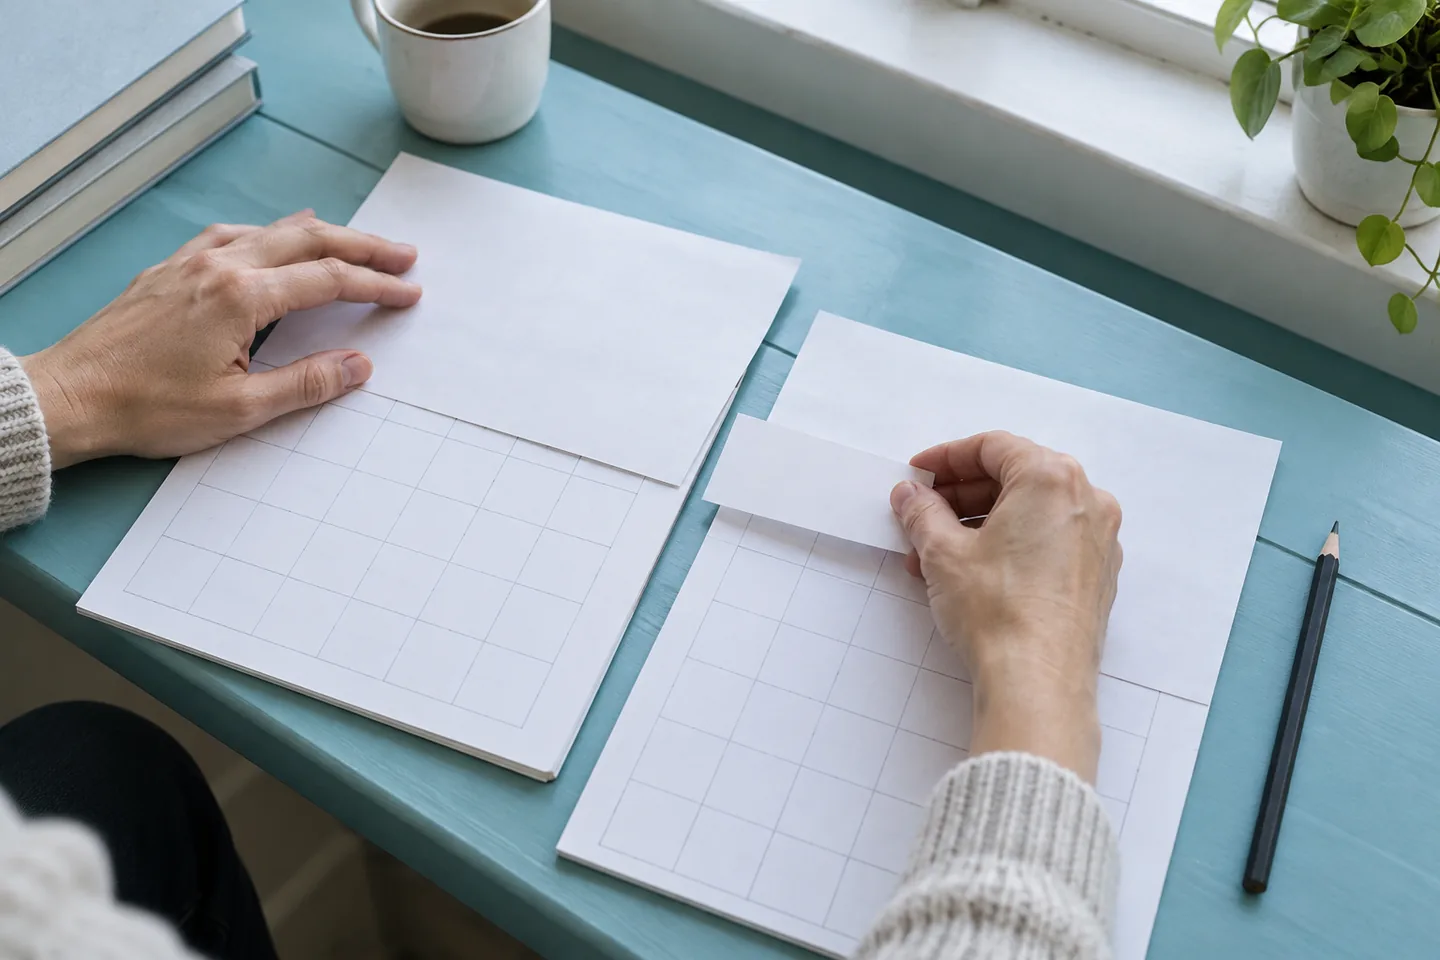
A square gives you a temporary frame for comparison. Look at how the model occupies that frame: its width, height, centre and the spaces between its parts. Then inspect your attempt at the same scale. A character squeezed into one corner and a character expanded against every edge create different problems. Choose the visible mismatch you can describe, such as a lower part that is too wide or two strokes that have become indistinguishable. The grid is a study aid, not a requirement that every curve must be perfectly symmetrical or every character must fill an identical amount of inked space.
If the comparison is difficult, make the next attempt slightly larger and leave enough space to see its parts. Once the arrangement is clear, return to a comfortable everyday size. Avoid drawing over the same line repeatedly until the original movement is buried under a thick patch. Make a new attempt beside it and compare the two. A small margin around the writing can help you see whether it is balanced. The aim is to preserve an identifiable structure when the guide lines disappear. You are not trying to produce a mechanically uniform page that hides which characters need attention.
Keep small kana and added marks visibly distinct
Check information that is easy to lose when concentrating on the main shape. か is ka, while が is ga; the two added marks matter. The combination きゃ is kya, with a small ゃ. It is different from きや, kiya, with a full-sized や. Use a checked model for size and placement, and compare the written result without first telling yourself which form you intended. A neat main character does not make the whole spelling correct if an added mark has vanished or a small kana has grown into an ordinary-sized one.
Practise these contrasts as a shape check, not as a new pronunciation course. Place the two versions next to their reliable models and ask whether a reader could distinguish them at the size you are using. If a mark merges into the neighbouring character, give it clear space in the next attempt. If the small kana is unclear, inspect both its relative size and its position within the writing line. Do not create a random miniature version wherever there happens to be room. Follow the model, then check the entire word. Handwriting needs to preserve the spelling, not just the appearance of separate attractive shapes.
Ask a reader what they see before explaining the answer
Use a word whose spelling and meaning you already know. For a simple practice label, ねこ, neko, means “cat”; かさ, kasa, means “umbrella”. Both are verified examples in the University of Texas hiragana table. Write one beside a drawing or on a practice card, then show the writing to a teacher or a reader who knows kana. Ask them to read it before revealing the intended word. Their answer provides more useful information than a general compliment about your handwriting. Keep the check focused on identification rather than asking them to rank the beauty of the whole page.
If they misread a character, point to the model and ask which visible feature caused the uncertainty. The problem might be a missing stroke, a connection, crowded spacing or size. Record the specific observation and write a new version; do not just darken the original until it becomes harder to inspect. If no reader is available, compare carefully with the verified reference and return to it later, but recognise the limit of judging your own intended message. You already know what you meant. Keep any uncertain form marked for later feedback rather than treating your own recognition as independent confirmation.

Move from the square to a small real paper task
Once the model is identifiable, write the same known word on plain paper at the size the task requires. You might make a vocabulary label beneath a picture in your notebook or write a short classroom response you have already checked. Keep the spelling available for verification after writing, but make the attempt without tracing an outline. Read it back and inspect any added marks. A neat isolated character in a large square does not automatically stay clear when it sits beside another character on a smaller label. This transfer is therefore part of the task, not an optional reward after a perfect practice page.
Use the layout appropriate to your material. For this beginner exercise, a simple horizontal line is enough; it is not a lesson in manuscript-paper conventions, vertical writing or form-specific instructions. When an actual form gives directions about boxes, writing style or ink, follow those directions rather than applying this practice layout everywhere. For an invented study label, make the intended reader and word clear without relying on decoration. If you copy a short phrase from a lesson, check that you understand what it says. Legible characters cannot repair a message whose language or purpose you have not understood.
Keep a useful record and choose the next correction
End the session with three pieces of evidence: your first attempt, the model you used and the version produced after one specific correction. Date the page and describe the change in ordinary language. “The small kana now stays visibly smaller” is more useful than “my Japanese looks better”. At a later session, try the same task on a fresh line before reviewing the old page. If the corrected feature remains clear, select another known word or character. If it does not, revisit that movement or placement. The suggested sequence is an editorial practice method, not a promise that a fixed number of repetitions guarantees lasting recall.
Stop when you have completed the small writing task and identified what to do next. You do not need to fill every remaining square, replace all reading time with handwriting or pretend that neat kana establishes command of kanji. Keep the work aligned with your needs: recognition, typing, handwriting and composing a message are related but distinct activities. If ordinary handwriting is the goal, return to a clear model, a controlled attempt and a reader’s view of the result. Your next page should answer a practical question about legibility, rather than merely demonstrate that you spent a long time moving a pen.